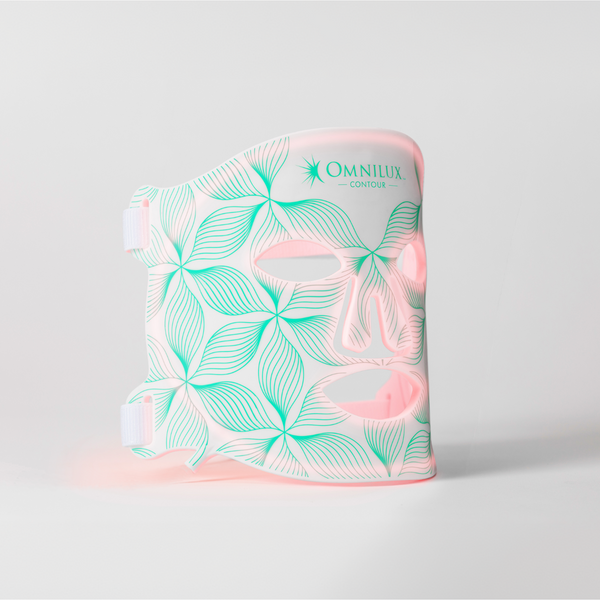
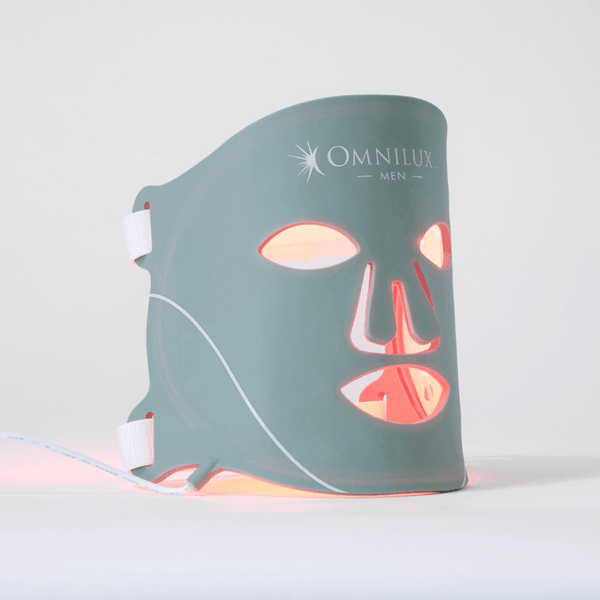

When you start an LED light therapy routine, it’s natural to look for changes right away. After a few sessions, you might find yourself wondering...is this actually working?
The truth: LED results are often subtle at first. They build gradually, beneath the surface, before becoming more visible over time. That’s where progress photos come in – they capture changes you might otherwise miss.
Keep reading for our top tips to capture progress photos that actually reflect your skin journey!
When To Take Your Photos
Consistency makes changes easier to track, so try to take your photos on the same day and at the same time. Follow this simple cadence:
-
Start with a true “before” photo prior to your first session
-
Once a week for the first month
-
Then every 2 weeks
How to Capture Photos That Reflect Real Skin
This is where accuracy matters most. Your goal is to keep everything as consistent and natural as possible.
Use a high-quality camera
A smartphone works well. You want sharp, detailed images that show real skin texture.
Stick to natural lighting
-
Stand near a window if possible
-
Avoid shadows or overly bright, blown-out light
-
Use the same lighting setup every time
Keep your setup identical
-
Same location and background (a plain wall works best)
-
Same distance from the camera
-
Same time of day, if possible
Remove distractions
-
Clean, makeup-free skin
-
Hair pulled back
-
No jewelry, glasses, or hats
Capture multiple angles
-
Front-facing
-
Right profile
-
Left profile
Skip the editing
No filters, no retouching, no skin smoothing. Your photos should reflect your real skin.

What to Look For (Especially Early On)
Not all progress is immediate or dramatic. That’s normal. Early changes may include:
-
Skin that looks more glowy
-
Smoother-looking texture
-
A more even, refreshed appearance
These subtle shifts are often the first signs your skin is responding.
Consistency Over Perfection
LED light therapy results don’t happen overnight; they build gradually over time. If you stop too early, it’s easy to assume nothing is happening when your skin is still in the early stages of change.
Progress photos help you stay grounded in what’s actually improving, even when it feels slow.
Make It Part of Your Routine
Keep your photos in one place so you can easily track your progress. A quick weekly check-in can help you notice changes you might not pick up on day to day.
Stay consistent with your sessions, track your progress, and let your results speak for themselves.
Quick Progress Photo Checklist
-
Same lighting every time
-
Same time of day
-
Clean, makeup-free skin
-
Same angles (front + profiles)
-
No editing
We love to see your glowing results and real progress. Share your photos by tagging @omniluxled on Instagram for a chance to be featured!
